This is just a quick little post about what I’ve been up to lately. I’m not sure if I’m going to make a short video demoing the features I’ve added to my personal game yet, but let’s go ahead and get started.
Props
I’ve added several props to my game.
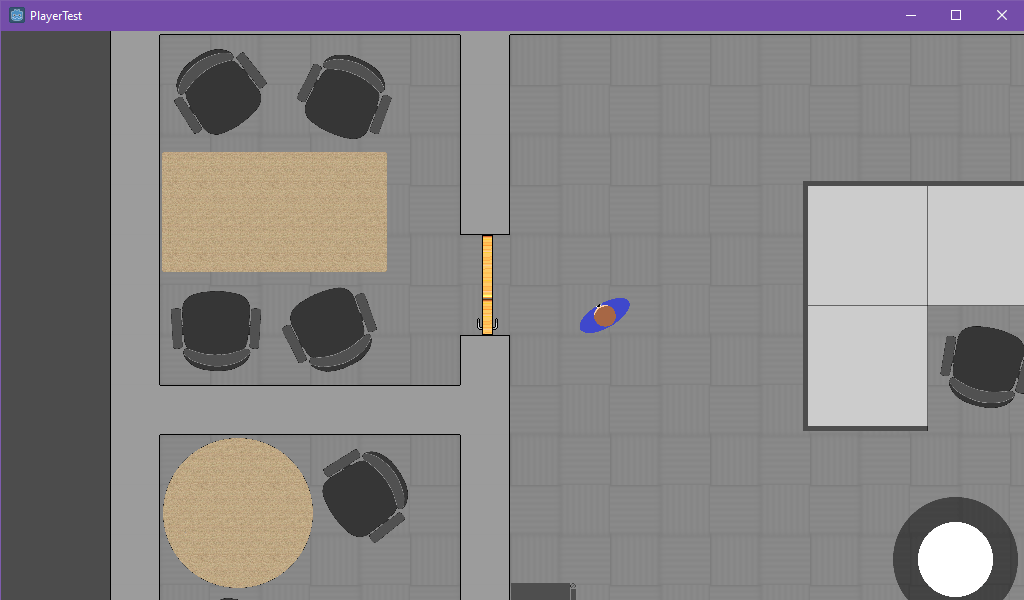
Cubicles:
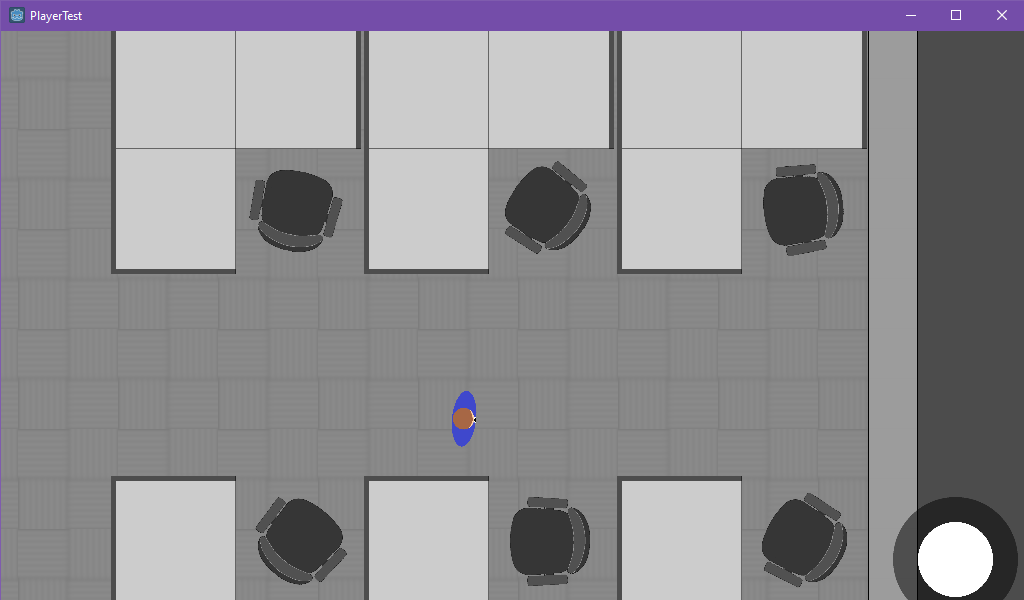
Tables:
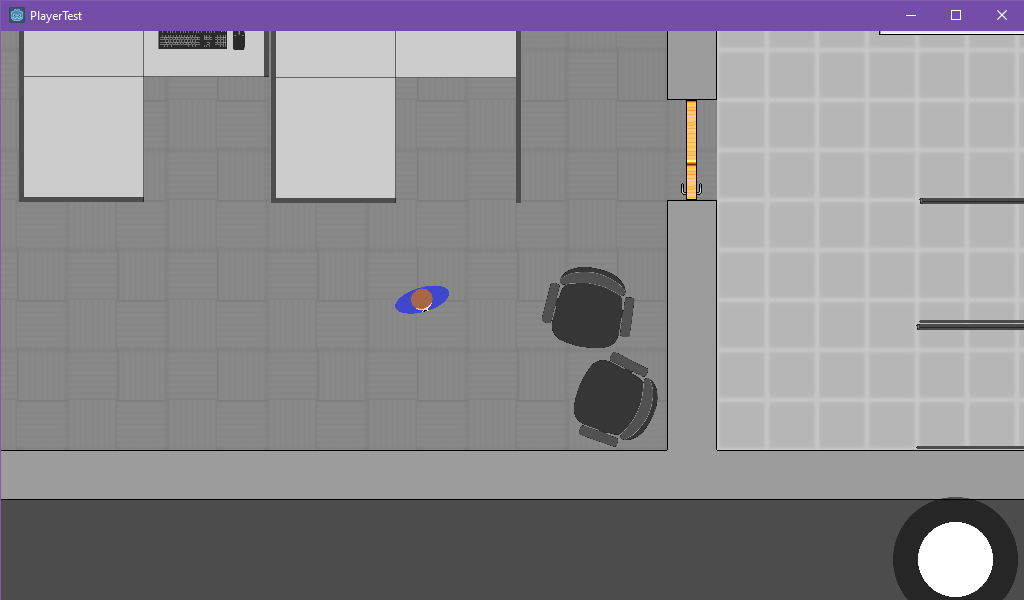
Computers

Rolling computer chairs that move around

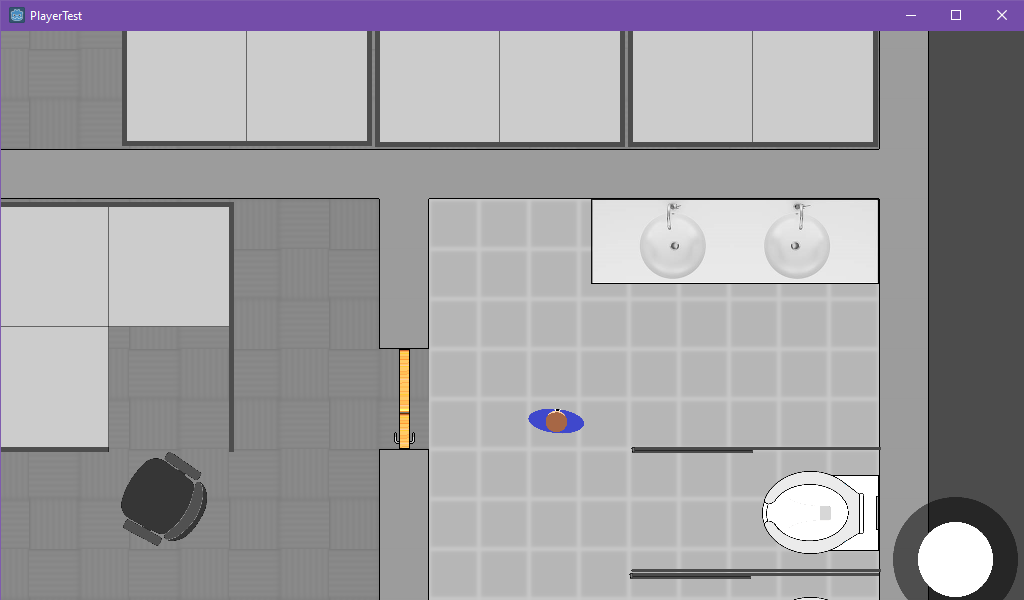
And some bathroom stuff:
Floors
I used Tilemaps to produce a variety of floors for testing.
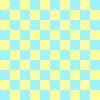

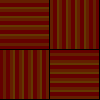

I didn’t really like any of these as they all seemed to draw too much attention to the floor vs. the character walking around. I decided to create some wood tile floors:
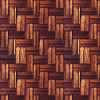
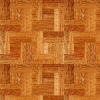
These were also too colorful, so I ultimately decided up on gray tiling:


I realized that I needed to blur the floors to really pull attention away from the floor and after reading how performance intensive that could be, I decided to just blur them in Gimp before importing them.
Also, a big FYI, it turns out that there are some nice Tile Map features that aren’t advertised in the Godot tutorial page. Here’s some fancy shortcuts:
- Ctrl+left click = eyedropper; sets tile to clicked tile
- Shift+left click+drag = draw a straight line with selected tile
- Ctrl+shift+left click+drag = draw a rectangle with selected tile
- Shift + right click + drag = delete tile along straight line
- Ctrl+shift+right click+drag = delete inside rectangle
So if you’re wondering, no, you don’t have to click each block individually, you can just paint an entire room’s worth of tiles. I only wish there were easier ways to build walls (I’m thinking Sim-style).
Walls
As you saw above, I have some rudimentary walls now… I started with very fancy walls that connected to one another in various ways and used tilemaps to build them.


The first image above was the tilemap I first which had my walls centered within a 100×100 pixel square grid, with various connectors for corners, T-intersections, and a single +-connector. However, this proved to be a bad idea because my floor tilemaps were also 100×100 pixels and would poke out the sides of the walls.
The second image is when I decided to stop having the walls centered and instead just take up the whole 100×100 square. This sort of worked, but alas, the walls were way too big and chunky.
Finally, I used 50×50 pixel walls where each one completely fills the square and the connectors are far less fancy. This is very rudimentary, but it works.
Doors
I put together some rudimentary doors as well, as you can see in the initial screenshots above.

Aside from the sprite, it consists of an Area2D to detect when the player is walking into one. Under that, is a StaticBody2D with a second CollisionShape2D to stop the player from going through if the door isn’t open (in case I want to add a keycard feature in the future, which is almost certainly the case).
The entire Scene is moved away from (0,0) so that when I rotate the door in code, it won’t just rotate around the door’s center. But if you were making a revolving door, you’d want to keep it centered. When the player’s body enters the Area2D, I rotate by 90 degrees, then set a timer to shut the door after 3 seconds.
The End
So that’s it. My next post is going to be a part 2 for the Scratcher stuff, which I’ve been holding off on because I don’t have much content, it’s just randomly drawing images at certain spots.
And here’s a preview of the level selector I’m going to use for my game:

